How to Create a Webtoon: A Step-By-Step Guide for Beginners
Webtoons are becoming increasingly popular due to their accessible storytelling format and their ability to engage a wide range of audiences. If you’ve ever wondered how to create a webtoon and get your art/story out there, then you’re in the right place. In this article, we’ll be going through a step-by-step guide on how to create a webtoon for beginners.
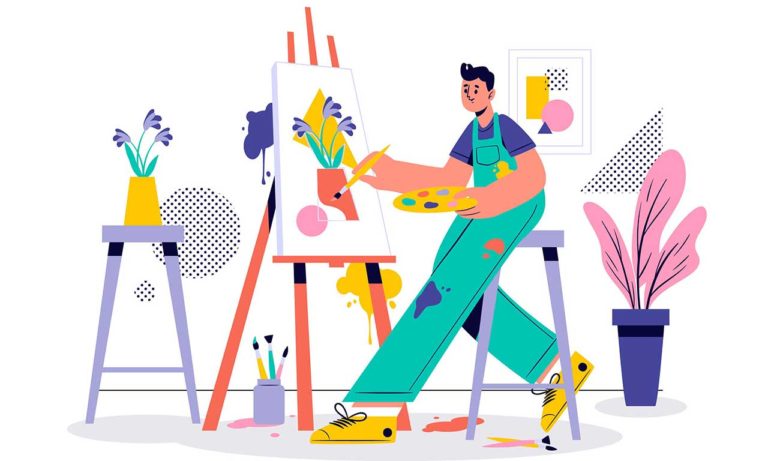
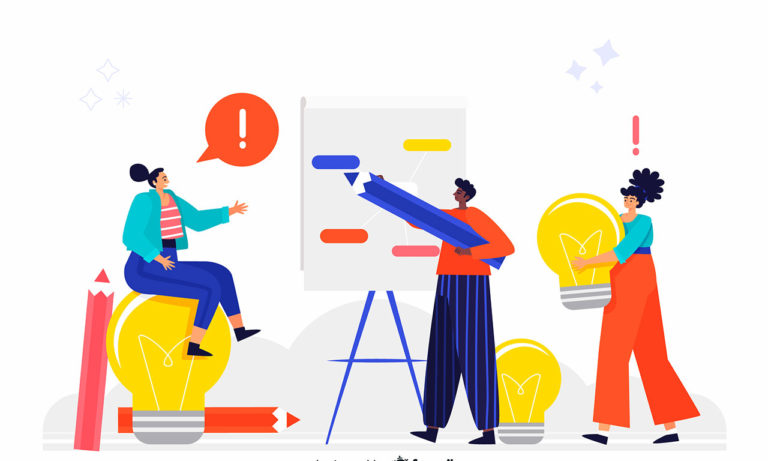
Step 1: Plan Your Story
Before starting your webtoon, you need to have a plan for your storyline. Developing a concept for your story, creating the characters, and mapping out the plot are crucial to creating an engaging and successful webtoon. This can involve brainstorming ideas and creating a mind map or storyboard.
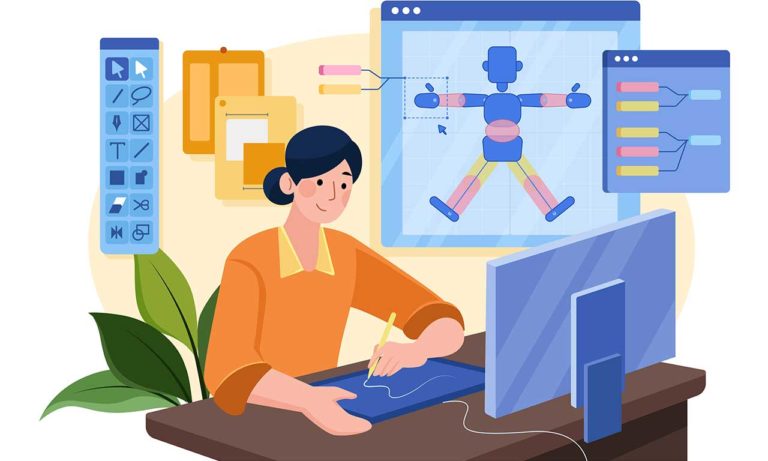
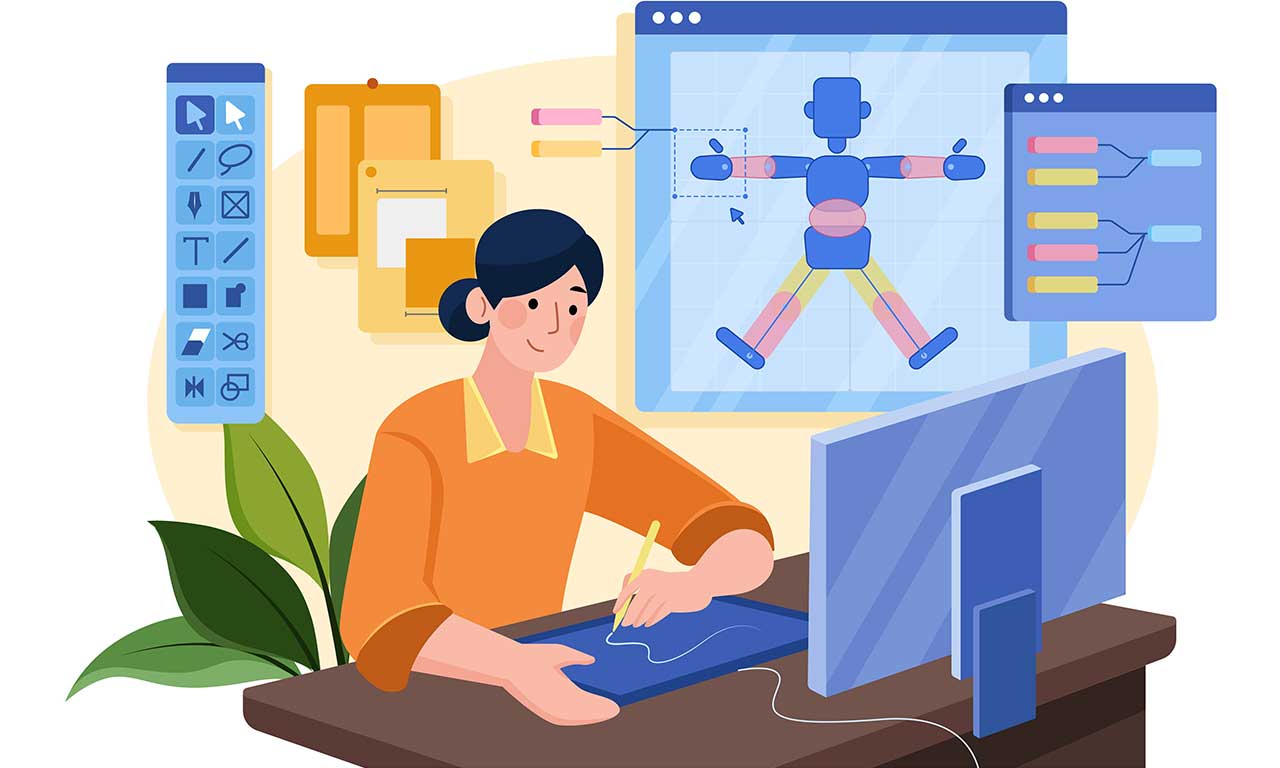
Step 2: Choose the Right Tools
To create a webtoon, you’ll need the right tools. A computer or tablet with a drawing tool such as Adobe Photoshop, Paint Tool SAI, or Procreate, and drawing pads like Wacom or Huion are popular choices among webtoon creators. These tools can be expensive, but there are free options such as Krita or Gimp.
Step 3: Prepare Your Panels
Webtoons are typically read on mobile devices, so use vertical panels. You’ll have to think about pacing and how you want to split up your story. Don’t overload one panel with too much text or too many pictures, split up big moments if necessary, and use sound effects if needed.
Step 4: Start Drawing
With your storyboard and tools, you’re now ready to start drawing. You can draw on paper and scan your work into your computer or tablet, or you can draw directly on your computer or tablet. No matter what method you choose, focus on the quality of your drawings and the consistency of your characters.
Step 5: Add Text
Once your panels are completed or close to it, you can then add text. Make sure your handwriting is legible and easy to read, use a font size that works for you, and consider what speech bubbles will be used. Also, consider the color choices of your text, which can impact the overall look of your webtoon.
Step 6: Upload Your Webtoon
When your webtoon is complete and ready for viewers, consider some webtoon platforms such as Webtoon, Tapas, or LINEWebtoon to publish your work. Do research on these platforms, as well as Instagram and Tumblr, to see which would best serve your work.
In conclusion, creating a webtoon is a process that can take time and effort but can ultimately be rewarding. To recap, plan your story, choose the right tools, prepare your panels, start drawing, add text, and upload your webtoon. With this step-by-step guide, you can start creating your own webtoon and showcasing your talents to the world.
Fobihe
As a seasoned business journalist, Fashion, and entrepreneur, Fobihe brings a wealth of experience to his writing about the world of commerce. Whether he’s analyzing market trends or interviewing industry leaders, his insights are always informed and insightful.